Artificial Turf, Installation, Landscape Turf, Turf Installation, Uncategorized
Artificial Grass Installation Tips

Installing artificial grass can be a convenient and cost-effective way to create a beautiful, low-maintenance lawn. However, it’s important to follow the proper steps to ensure a successful installation. Here is a quick step-by-step guide to installing artificial grass:
Preparing the area: The first step in installing artificial grass is to prepare the area where it will be installed. This includes removing any existing grass or vegetation, as well as leveling and compacting the soil. It’s important to make sure the area is properly graded to ensure proper drainage.
Adding a base: Once the area is prepared, you will need to add a base layer to provide a stable foundation for the artificial grass. This can be done using a layer of crushed stone or sand.
Laying the grass: Next, it’s time to lay the artificial grass. Roll out the grass and position it in the desired area, making sure to smooth out any wrinkles or creases. Use a sharp knife to trim the grass to fit the area, and secure the edges with landscape staples or a special adhesive.
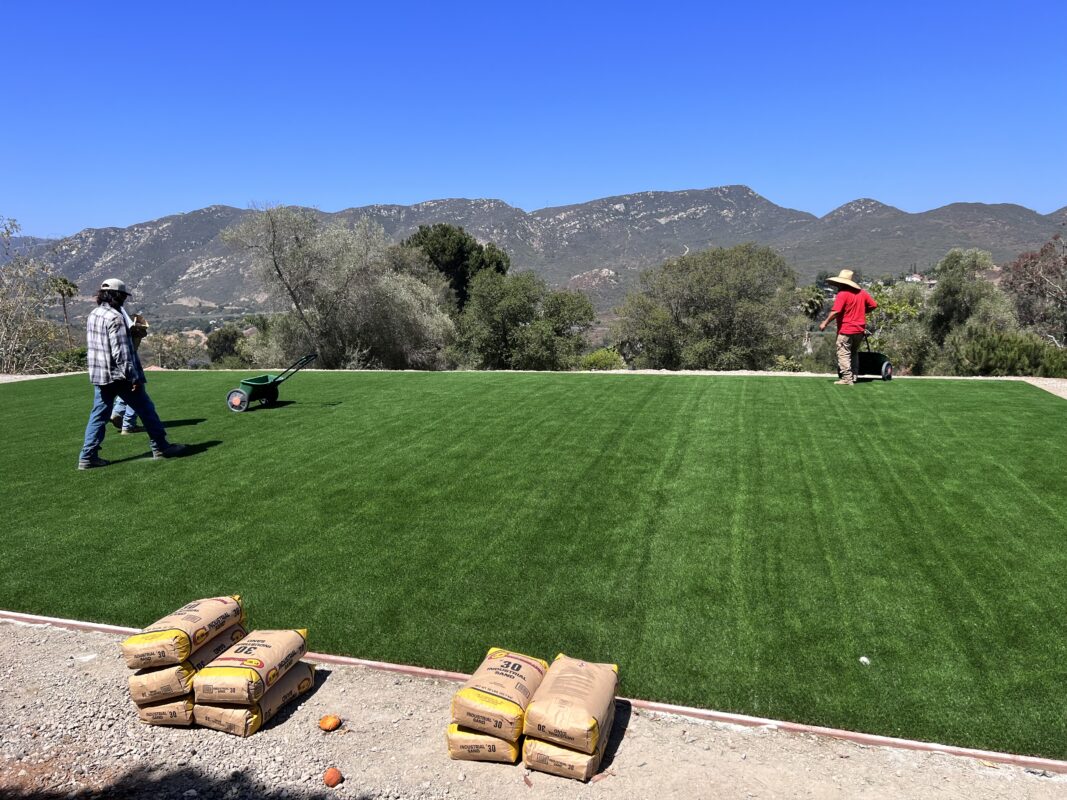
Adding infill: To give the artificial grass a more natural look and feel, you will need to add infill. Infill helps to hold the grass in place and provide support for the blades. It can be made of sand, rubber, or other materials.
Finishing touches: Once the infill is added, you can give the artificial grass a final grooming to make it look natural. Use a broom or brush to fluff up the grass and distribute the infill evenly.
Installing artificial grass can be a DIY project, but it can also be done by a professional. Either way, it’s important to follow the proper steps to ensure a successful installation and a beautiful, low-maintenance lawn.
