0

0


Make sure you know the right artificial turf installation tips. As with everything in life, there’s a right and wrong way to install artificial turf. With a continued drought situation in California, environmentally conscious neighbors, and an ongoing desire to beautify landscaping for low maintenance, installing synthetic grass has never been a better decision. Many homeowners and business owners want to install artificial turf. But, without the right tips, you might make a mistake that costs you big time.
As with any home improvement project, preparing a design or plan for your project is essential to ensuring you have covered all your bases and your project is set up for success. On the surface, artificial grass installation seems pretty straightforward. However, there are many components to consider. From perimeter restraints and retainers to drainage and elevation differences, these are all important details that should be thoroughly thought out before ever breaking ground on your installation.
While it’s tempting to take some shortcuts, it will only hurt you in the long run. Follow these Top 10 steps to DIY an artificial turf installation, our battled-tested artificial turf installation tips, to ensure your lawn looks like a professional installation.
Begin by mapping out the turf area and considering the impact it will have aesthetically and functionally within the surrounding landscape. Take note of obstacles like trees, flower beds, curved edges, or sprinklers that need to be moved or worked around. With your new lawn, you won’t need to water regularly, but many opt to keep a sprinkler head or two functioning to easily provide a quick spritz to cool off the turf on those hot days.
Carefully measure the square feet of the design before placing the order for your fake grass. Turf pieces from different batches can have a slightly different hue, so it’s essential to order the correct amount first to prevent any patching.
It’s tempting to go for the cheapest product to save your margins. I get it; an artificial lawn can feel like a big up-front investment. It is important to keep in mind the long-term payoff you receive. Far less maintenance—no more mowing, weeding, fertilizing—and a beautiful lawn in every season.
It’s worth looking at the many options and finding a product you will enjoy for years to come. Integriturf is a proud supplier of premium quality artificial grass products for residential and commercial landscaping, playgrounds, pet turf, putting greens, and more. We’d love to be your supplier for all the best materials.
Okay, not really. (That’s a direct quote from the famous golf movie, Caddyshack). The first step, though, is to apply an herbicide to the area where the turf will be installed to kill off any weeds or existing grass.
I’ll be honest— demo day sucks, but it’s one of those important steps so get out your wheelbarrow and shovel.
You’ll have to remove approximately 3.5 to 4 inches of existing earth to make room for the road base that will be imported. In some cases, we may raise the grade level and will not excavate or export soil. In these cases, we will still remove existing vegetation and then will raise the grade with class II road base or decomposed granite.
You’ll fine-tune the grade and drainage system in the next step, but during this phase, consider where your lawn’s high and low points will need to be located so you can demo accordingly.
Once the demolition is completed, it is time to build the load-bearing foundation of your artificial turf. We prefer to use Class II Road Base, which is an unbound mixture of 3/4′′ minus crushed rock and fines. Class II road base is the sub-base CalTrans installs underneath roads and highways.
Some companies prefer to use decomposed granite as the subbase layer because it provides a smoother finish and is easier to manipulate, but don’t let that base fool you! We have found that because decomposed granite lacks larger aggregates, it can become soft when it gets over-saturated. For this reason, we prefer using the Class II road base whenever possible.
Proper base preparation includes compacting the entire area with a plate compactor and/or hand tamp, often followed up by wetting the entire surface. This ensures all your base settles and your lawn remains level.
Once your sub-base is installed and properly compacted, a heavy-duty weed block fabric will be installed over the base to prevent weed growth.
We use a DuPont 25-year polyethylene weed barrier that does not deteriorate as some of the fabric types do. The weed barrier is tacked to the base using either sod staples or nails.
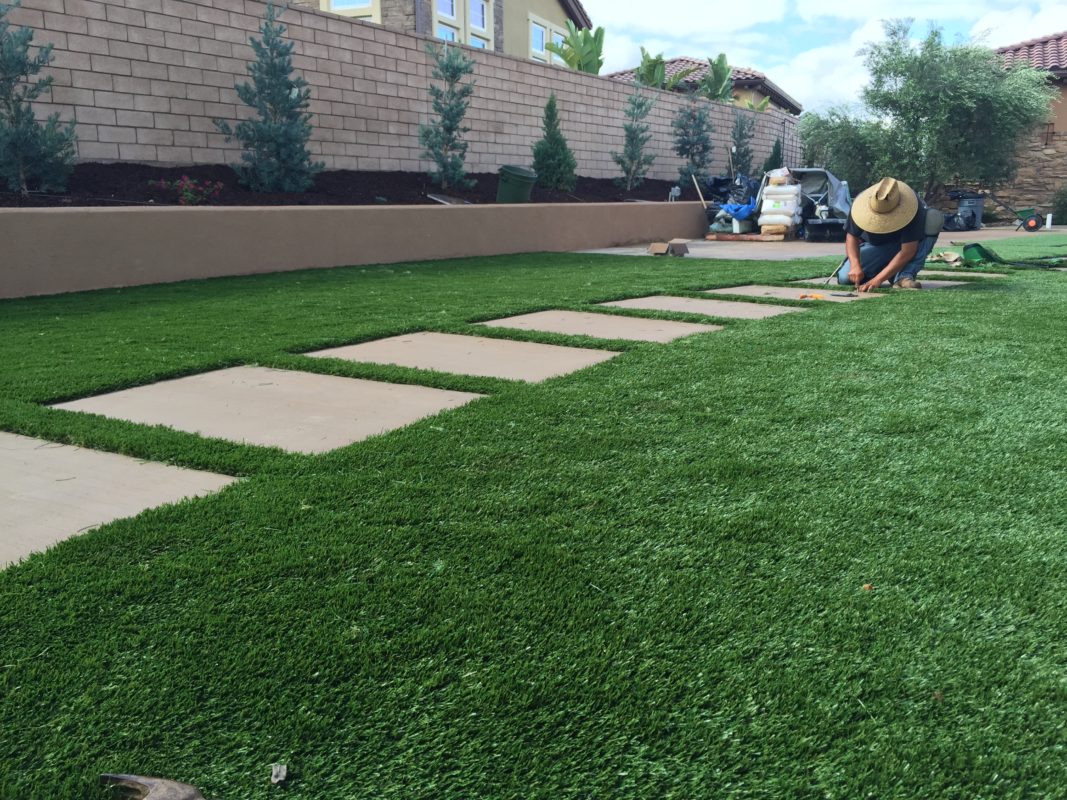
After getting the weed barrier in place, your turf carpet will be rolled out and positioned in a predetermined direction so that the grain of the turf fibers faces the area where you will be viewing the grass (typically facing the house in the backyard or facing the street in front yards). Make sure each piece is angled in the same direction.
Seaming your artificial turf properly is the most critical artificial turf installation tip in the installation process, and many people get this one wrong. The “standard” seaming method is called a butt-seam. You simply take the two sides of each section of grass and abut them together (in a straight line). Nailing the butt-seam with 40D 5′′ common nails up the seam every 4 to 6 inches.
The S-seam method is one that we use on every installation. We use a tool designed specifically for cutting artificial turf seams. This stencil allows us to create a wave pattern on each side of the seam in a 9′′ radius curve. This allows the seam to overlap, greatly reducing the visibility of the seam.
Another aspect of proper seaming is securing the seam. We recommend using a 12′′ .48mm thick seaming tape and a specialty adhesive designed for artificial turf seams. Once the seam is closed, you can then also secure the seam with 40D 5′′ common nails up the S-seam. Lift the grass fibers around the head of each nail before hammering them in place so the fibers are not trapped, creating an unsightly divot.
There are two primary functions of synthetic turf infill. The first is to assist in anchoring your artificial turf by adding weight to the backing. This is essential in preventing ripples from developing during warm/cool temperature fluctuations. The other function turf infill serves is to add ballast and to assist in keeping the turf fibers standing up. In sports fields and commercial playground applications, a high amount of infill (typically crumb rubber) is used to add impact attenuation for falls or tackles.
Types of infill: There are several types of infill for different applications. The main types and uses are:
Silica Sand: The baseline infill typically used in landscape applications with low to moderate foot traffic.
Anti-Microbial: Durafill is commonly used in playgrounds and pet areas because of its Microban technology that prevents microbes from breaking down bacteria in pet urine, causing awful odors. It is also a rounded quartzidic sand with an acrylic coating making it non-absorbent (resisting mold) and less abrasive on the turf, fibers than angular silica sand.
Zeofill: Also used in pet areas, Zeolite is an absorbent that traps gases caused by bacteria in pet urine, reducing the odor.
Crumb Rubber: Used primarily on sports fields – crumb rubber is as it sounds. Rubber granules from recycled tires. When applied at a high rate over taller monofilament grass this provides higher G-Max ratings and cushion from impact. Crumb rubber does increase the surface temperature of artificial grass by 15 to 30 degrees in direct sunlight, and many DIY homeowners choose to stay away from this.
Power Brooming: The final step in the installation process is to groom your turf using a power broom. This step could also be done with a push-broom or Grandi rake. However, a motorized power broom makes the step a lot easier. After infilling the turf, the power broom is run against the grain of the turf allowing the infill to fall beneath the thatch line. It also stands up the turf fibers and gives the artificial turf that finished look.
When I started installing turf, I didn’t know what I was doing. Honestly, there are a few of those first jobs we had that I cringe at when I think back on them.
I haven’t had much help—unless you count Google and Siri and the angry guy on aisle six at Home Depot.
These are the ten artificial turf installation tips I wish someone had given me when I first started installing turf. Check out our other installation articles for more great tips and products.
Thanks, Steve


 Turf Installation


